
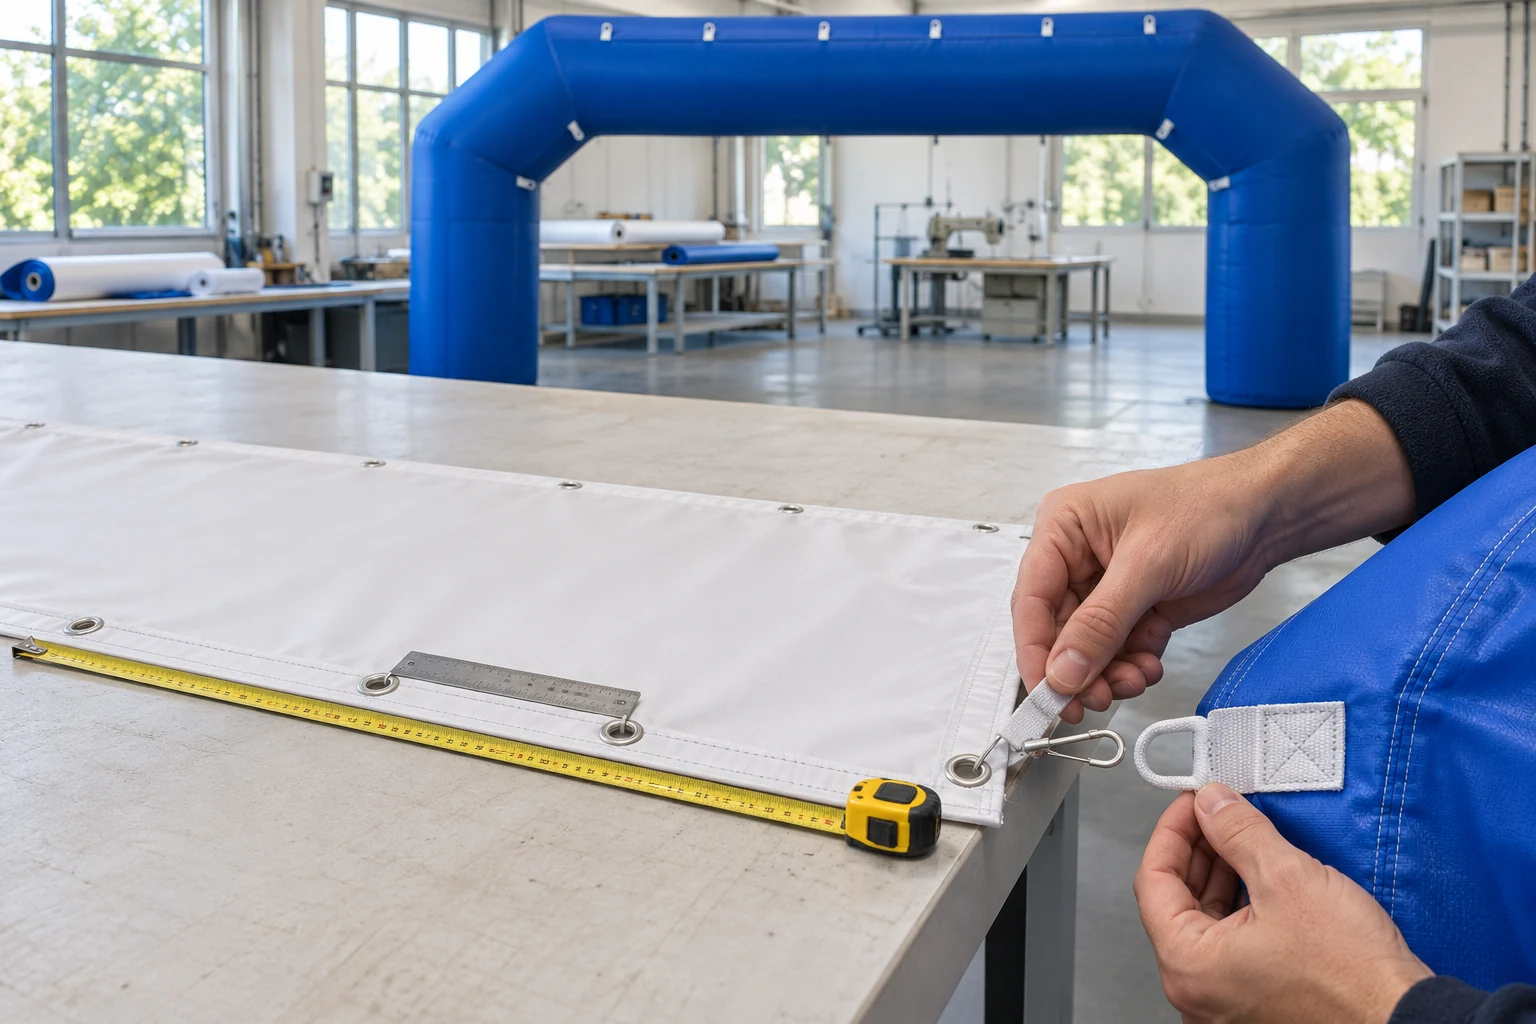
A new sponsor logo does not always require a new inflatable arch. If your existing model has a separately replaceable banner, the supplier may be able to make a new panel for its original attachment system. Start by identifying that system and the arch version. A logo file and the arch's advertised width are not enough to establish a fit.
The useful reference is a marked drawing connecting three things: the existing arch, the finished banner and the points where they join. Send photographs alongside the measurements, and ask the supplier to confirm the matching part before production.
Send the manufacturer, model, original order number and any serial or drawing reference. Include an overall photograph showing the current banner in position, plus close-ups of its edges and connections. Tell the supplier whether any fittings or panels have changed since delivery.
Ask what the original construction allows. A removable sponsor panel, a graphic permanently attached to the surface and a design printed directly onto the arch require different work. A welded graphic is not automatically a detachable replacement part. Do not cut or peel material from the arch to create a mounting area. If no removable panel exists, ask the manufacturer to assess the proposed change.
State whether you want an identical replacement with new artwork or a different banner shape or position. Enlarging a panel or spanning an opening changes the proposed configuration and needs the manufacturer's review. For a complete new arch, the commercial inflatable arch drawing and quote checklist covers the wider purchase.
Label the arch's outside width and height separately from its clear internal opening. These identify the structure and help explain where the banner sits. They do not determine the finished banner size.
Then record the old banner's overall width and height, outline and orientation. Mark the top edge, the viewing face and the location on the arch. If the panel has a curved edge or shaped corners, ask whether the supplier needs a template or its original drawing rather than a width-and-height estimate.
Distinguish the finished outer edge from the visible artwork area and the attachment line. A hem, sleeve or fastening strip may occupy part of the panel. Ask the supplier which dimensions it needs and where each measurement should start and end before taking final readings.
Follow the manufacturer's instructions for access and handling. For a detachable panel, ask whether it should be measured laid flat without stretching. For attachment locations on the arch, ask which setup condition to use. Label that condition on the drawing so a relaxed fabric measurement is not mistaken for a measurement of the installed assembly.
Number the connections on the banner and the corresponding connections on the arch. Keep the same viewing direction on both drawings. For example, identify the top-left corner as seen from the front, rather than using an unlabelled “left.”
Record the number of attachment points, their centre-to-centre distances and their distances from the finished edges. Show the corner positions separately. Equal spacing should be confirmed by measurement or the original drawing, rather than inferred from one gap.
Photograph each type of connection with a ruler beside it. Show damage, missing fittings or repairs that make a reading uncertain. An old banner can stretch or distort, so ask the supplier to reconcile your observations with its original specification. Have it state the agreed dimensions and tolerances on the replacement drawing.
The new banner must match the connection that remains on the arch. Photograph both sides of that interface and list the hardware you intend to reuse.
| Connection found on the existing assembly | Information to send | Supplier confirmation to request |
|---|---|---|
| Hook-and-loop strips | Which face has hooks or loops, strip width, position, length and gaps | Matching mating surface and strip layout |
| Eyelets with ties or other separate connectors | Eyelet positions and opening dimensions, arch-side fittings, photos of the existing connectors | Matching layout, connector specification and whether connectors are included |
| Buckles, clips or toggles | Both mating parts, legible markings, strap width and fitting locations | Matching components, orientation and required replacements |
| Zipper or sleeve arrangement | Start and end details, closure direction or sleeve opening, plus the corresponding arch component | Exact mating design and any sample or original drawing needed |
These are details to check if present on your arch. They are not interchangeable mounting options. Ask the manufacturer to identify the intended connection and assembly instructions for the quoted panel. Do not improvise new attachment points on an inflatable chamber.
If the order includes several arches, verify the model or revision of each one. Similar overall dimensions do not establish matching attachment layouts. Store the confirmed part reference in your spare-parts compatibility record.
Send the logo file with the front face, top edge and viewing direction marked. Specify whether the design is required on one face or both. Ask for a proof showing the finished banner outline, visible print area and the positions of hems, strips and fittings.
Keep text and logos clear of the features shown on that proof using the supplier's agreed layout requirements. Confirm colour references and the artwork revision before approval. The custom inflatable artwork approval guide explains the wider file and approval process.
Ask the supplier to specify the panel material and decoration method for this replacement. The inflatable printing methods comparison explains the available approaches. The replacement order still needs a written confirmation of compatibility with the identified arch.
Subject — Replacement banner inquiry for existing inflatable arch [model / order number]
We need a replacement banner for an existing inflatable arch. Please review the attached labelled photographs and measurements, identify the matching design, and complete the supplier-confirmation column below.
| Item | Buyer to complete | Supplier to confirm |
|---|---|---|
| Existing arch | Manufacturer: ___; model: ___; order/serial/drawing revision: ___; modifications: ___ | Arch version identified and whether the banner is separately replaceable |
| Banner position and outline | Marked overall photo: ___; front face/top edge: ___; shape: ___ | Matching panel reference and intended position |
| Dimensions | Units: ___; arch outside size: ___; clear opening: ___; finished banner width/height: ___; measurement condition: ___ | Required measurement method, finished outline and agreed drawing dimensions |
| Attachment layout | Numbered photo/drawing: ___; point count: ___; centre spacing: ___; edge distances: ___ | Mating locations checked, tolerances stated and uncertainties resolved |
| Connection and hardware | Connection type: ___; photos of both mating parts: ___; hardware to reuse: ___; damage or repairs: ___ | Matching connection, included hardware and any additional work or sample required |
| Artwork | Logo file: ___; one/two printed faces: ___; viewing direction: ___; colour reference: ___ | Printable area, material/decoration specification and proof revision |
| Quantity and delivery | Quantity per arch version: ___; delivery postcode/country: ___; required date: ___ | Itemised panel and hardware prices, freight, production schedule and delivery estimate |
Please identify any missing information before production. Confirm the replacement against the agreed arch version, attachment drawing and artwork proof. State any exclusions and provide the relevant assembly instructions.
Before authorising production, check that the quotation, dimensioned drawing, connection specification and artwork proof refer to the same replacement version. Resolve any difference between the old panel measurements and the proposed manufacturing dimensions in writing.
After delivery, check the panel reference, quantity and supplied fittings against that record. Arrange a fit check according to the manufacturer's instructions before the next event. If a connection does not align, document it for supplier review before altering the panel or arch.
For a replacement banner quote, send the arch identification, a marked measurement drawing, photographs of both mating connections and the new artwork. Those details give the supplier a practical basis for checking fit and defining what its price includes.