
Punctures happen. It does not matter whether your fleet is built from 0.55 mm 1000D PVC or premium 1100D commercial-grade tarpaulin — sooner or later a customer drags a folding chair across a bouncer floor, an anchor scuffs a landing pad, or a buried piece of gravel finds the underside of a water slide. For a long-distance operator running weekend rotations across multiple counties, a single unrepaired puncture means a unit pulled from rotation and a refunded booking.
A stocked repair kit changes that calculus. Most field punctures under 10 cm can be patched in under an hour by a trained crew member on-site, returning the unit to service for the next booking. Insurance carriers covering commercial inflatable operations want to see documented maintenance capability before renewing liability cover, and inspection regimes such as the EN 14960 inspection requirements assume the operator can perform routine repairs between annual third-party reviews. Operators running commercial inflatable bouncers see the highest repair volume — bouncers absorb constant jumping load on seams and floor panels, and a kit that lives in the box truck pays for itself within the first season.
Build the kit around the unit population you actually deploy. A two-truck rental operation does not need a heat-weld station, but it absolutely needs the consumables on hand to handle a Saturday-morning seam pop. A workable field kit contains:
Whenever possible, source the patch material and adhesive from the original manufacturer so the chemistry matches; factory-supplied repair kits and accessories ship with offcuts from the same fabric lots used to build your units, which eliminates color-mismatch and bond-failure surprises. If you are unsure which grade your fleet was built from, the PVC tarpaulin grades reference walks through how denier, coating weight, and base fabric affect patch selection.
Before you reach for the adhesive, identify which of the four failure modes you are dealing with. Misdiagnosis is the single most common reason field repairs fail within a week.
Membrane punctures are the easy case: a clean hole or slit in the PVC wall or floor, away from any seam. Soap-water spray reveals them as a steady bubble stream under operating pressure. Textbook cold-patch candidates.
Seam separations occur where two panels were originally welded together; the damage runs along the weld line rather than through the membrane. These need wider patches that bridge the seam by at least 5 cm on each side, and they often signal that adjacent seam sections are about to fail — inspect 50 cm in either direction before closing the kit.
Valve failures show up as slow pressure loss with no visible bubble trail on the body. Spray the valve housing itself; if soap bubbles form at the valve base or stem, the gasket has failed and the entire assembly needs swapping rather than patching.
Internal threading damage is specific to drop-stitch construction (paddleboards, gym mats, some high-pressure obstacle elements). When internal threads snap, the unit develops a visible bulge or asymmetric inflation profile — not a field repair, return to factory.
Three techniques cover almost every field and shop scenario. Pick based on damage type, available time, and how long the unit needs to stay in service.
Cold-patch is the workhorse. Deflate the unit, clean the area with seam cleaner, lightly scuff with 220 grit, mark the patch outline, apply thin even coats of PVC adhesive to both patch and host surface, wait for the adhesive to flash tacky (5–10 minutes depending on temperature), press the patch into place, and roll firmly from the center outward to drive out air. Total time 30–45 minutes per patch; a properly executed cold patch holds one to two full operating seasons.
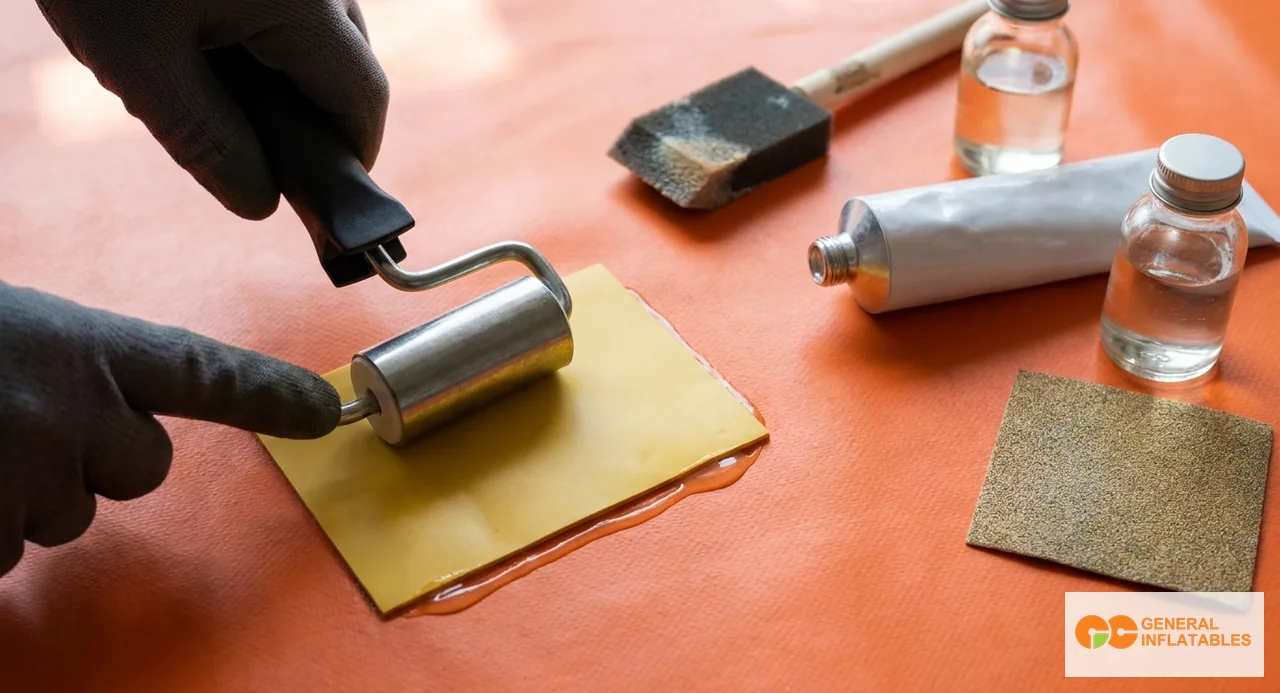
Heat weld is the shop-grade option. Using an industrial hot-air welder or wedge welder, the patch is fused to the host material at roughly 450–550 °C, producing a bond chemically identical to the original factory seam. Plan on 60–90 minutes per repair including setup and cool-down. Heat welds last the remaining lifetime of the host fabric, so they are the right choice for high-value units or for damage in load-bearing locations like jump-floor seams.
Solvent bond sits between the two. Apply MEK or a dedicated PVC solvent to soften the surface of both patch and host material, immediately apply adhesive, then press and roll. The softened surface allows the adhesive to penetrate slightly into the PVC matrix, producing a stronger bond than cold-patch alone. Total time around 45 minutes. Use this method when patching older units whose PVC has become slightly porous from UV exposure and where a straight cold patch tends to lift at the edges.
Field repair makes sense up to a point. Past that point, every additional patch increases the chance of mid-event failure, which costs far more in refunds and reputation than a planned replacement.
Useful rules of thumb: a single clean puncture under 10 cm on a unit less than five years old is always a repair. Two or three separate punctures on the same unit, especially clustered on one panel, still favor repair but trigger a full inspection of that panel for hidden fatigue. Once a unit accumulates more than roughly one patch per square meter of wall area, or once seam separations appear on multiple panels of an aging unit, the underlying PVC has fatigued — retire and rotate in a replacement. Drop-stitch failures always go back to the factory. Track repair history per unit in your maintenance log so replacement decisions are data-driven rather than reactive.
The off-season is when fleet reliability is actually built. Pull every unit, fully inflate in a clean indoor space, and run a four-point inspection: seam integrity along every weld (visual plus soap test at operating pressure), valve performance (timed pressure-hold test, target less than 10 percent loss over 30 minutes), fabric flex test (fold a non-critical area sharply and check for cracking), and anchor-point reinforcement (look for stitching pull-through or webbing abrasion). Document each unit with photos and a dated checklist; that paper trail is exactly what insurance auditors want to see.
Schedule preventive replacements on a rolling cadence: replace blower carbon brushes every two seasons, anchor straps and stake loops every three seasons, and Boston valve assemblies every five seasons. Pair the valve cycle with a deeper review of anchor systems maintenance so the structural side of the unit gets the same attention as the air-retention side. Operators who treat off-season inspection as a billable internal project report fewer in-season failures and longer unit lifetimes. Pair repairs with a regular cleaning and disinfection SOP to keep PVC hygienic and extend its service life across the fleet.
Tell us your fleet size, material grade, and operating regions, and we will return a recommended repair kit — patch material in matching colors, adhesive selection, tool list, and valve spares — typically within three business days.