A 40ft HQ container can be packed to the millimeter for maximum capacity and still deliver damaged goods if the units inside are folded wet, braced poorly, or left to rub against steel walls for five weeks at sea. Capacity math gets your units loaded; packing discipline is what gets them to arrive usable.
Most buyers obsess over how many units fit per container — and that calculation does matter. But once a container leaves the FOB port, it becomes a steel box that flexes, sweats, and slams over every wave. A unit that was crammed in tight without internal protection will spend weeks grinding against neighboring units and the container's corrugated walls. The three failure modes we see on arrival are almost always the same: abrasion (worn PVC at fold edges and contact points), mold (units folded with residual moisture), and crushed blowers (motors stacked under the weight of inflatables with no rigid protection).
Inflatable freight protection is not an add-on cost — it is the difference between a clean unbox and a warranty claim before the product has earned a single rental dollar. Before you finalize quantities, get the capacity picture right with our container loading guide: 20ft vs 40ft HQ capacity, then layer packing requirements on top.
Folding is the single biggest controllable factor. Commercial PVC fabric (typically 0.55mm or 0.9mm for heavy-duty units) tolerates folding, but it does not tolerate hard creases under compression for weeks. Specify these practices from your factory:
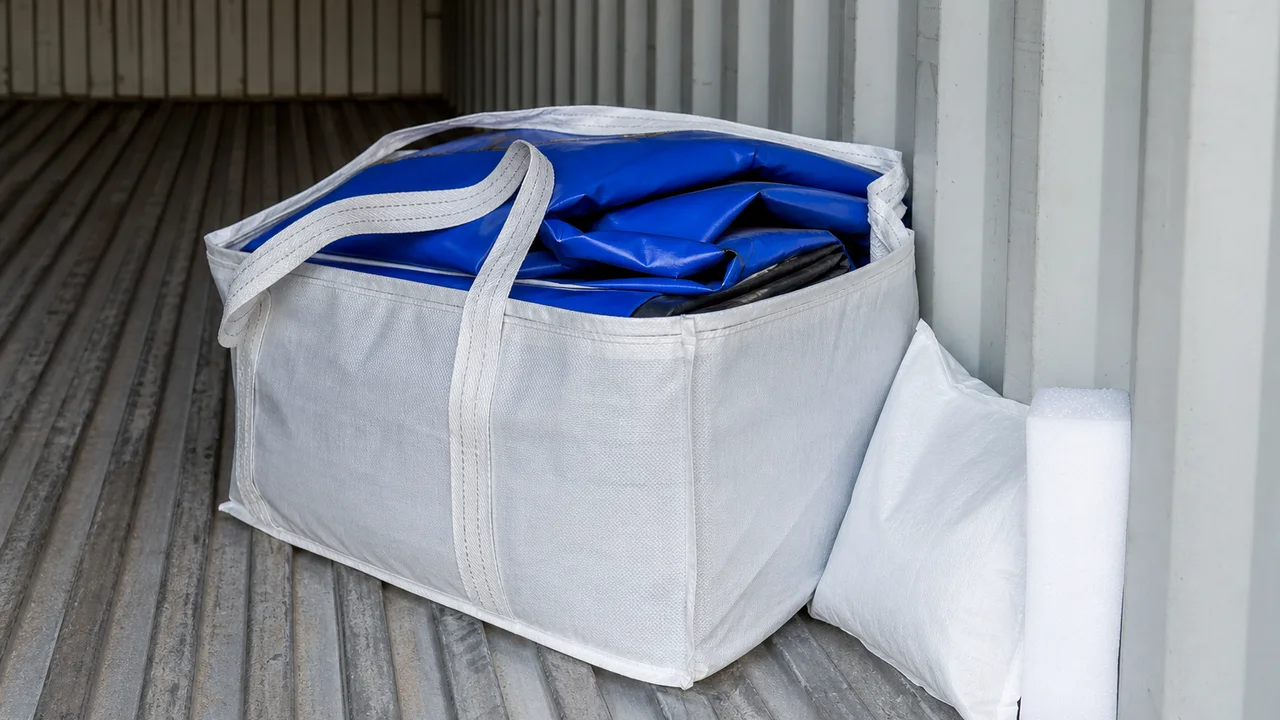
The carry bag matters more than buyers expect. A cheap thin bag tears in transit and the unit it was protecting becomes the abrasion victim. Specify a reinforced woven bag with double-stitched handles — it also becomes the operator's storage bag on arrival.
Container interiors swing through large temperature changes between day and night, port and open ocean. Warm humid air trapped at loading condenses on the cold steel ceiling and walls — "container rain" — and drips back onto cargo. PVC itself does not absorb water, but trapped moisture between folds plus weeks of warmth is exactly how mold blooms on the fabric and in the stitching.
Control it on three fronts:
The same moisture discipline applies once units reach the operator. Point your customers to our inflatable storage and off-season maintenance SOP so the units stay mold-free after they clear the container.
Inflatables are soft; blowers are not. A 1.5HP or 2HP blower has a rigid steel housing, a motor, and an electrical connection block — and it will happily crush anything soft beneath it or shatter its own housing if dropped or stacked badly. Treat blowers and accessories as a separate packing problem:
When you reorder spares or replacement motors, source them from the same supplier for fit and voltage consistency — browse the Accessories category for blowers, stakes, and repair kits.
The pallet-or-floor-loose decision is a real trade-off, not a default.
| Method | Pros | Cons |
|---|---|---|
| Palletized | Easier forklift handling on arrival; units lifted off the container floor (clear of floor moisture); load is braced as a block | Pallets eat usable volume — you fit fewer units per 40ft HQ; pallet wood adds weight and ISPM-15 fumigation paperwork |
| Floor-loose | Maximum unit count per container; no pallet cost or fumigation | Manual unloading is slower and rougher; units sit on the floor where condensation pools; requires careful internal bracing |
For high-value or fragile mixed loads (units plus blowers plus delicate accessories), palletizing usually wins despite the volume penalty. For a single SKU of robust units at high MOQ, floor-loose with good bracing and dunnage maximizes container economics. Either way, fill voids — a unit that can slide in transit is a unit that abrades. Use airbags, cardboard, or the units' own carry bags as dunnage to lock the load.
Inspect before you sign. The driver wants the container empty fast; your warranty position depends on what you document in the first hour.
Document any damage with dated photos and notify your supplier immediately — claims raised within the contract window backed by photos get resolved; vague complaints weeks later rarely do. A reliable supplier relationship makes this painless; see our factory-direct inflatable sourcing guide on vetting partners who stand behind packing quality.
Packing standards do not happen by default — you have to write them into the purchase order. Don't assume; specify. Include these clauses:
Build packing requirements into your timeline too — proper drying, bagging, and bracing add handling time at the factory. Factor that into your inflatable production lead times so packing quality isn't sacrificed to hit a sailing date.
Container capacity tells you how much you can ship. Packing discipline tells you how much arrives ready to earn. Get both right and inflatable ocean freight stops being a gamble.